| Installation |
 |
 |
|
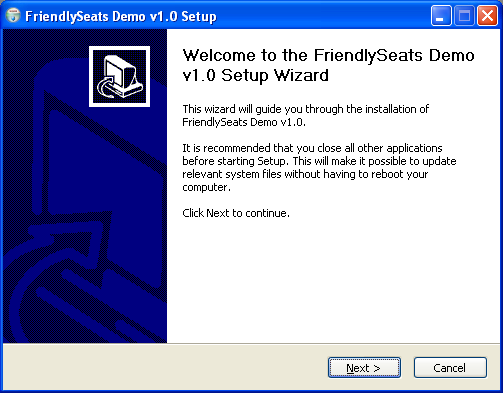
Below is a description of installing Friendly Seats to the computer. Before installation, check whether your computer meets the minimum system requirements. 1. To run installer of Friendly Seats, please, execute «Setup FS.exe» file (Fig. 2.1).
Fig.2.1. Installation file icon.
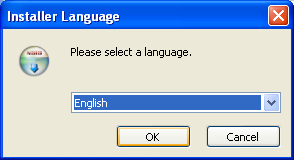
2. Installer will help you to install the program. On the first step, you must select the installation language (Fig. 2.2).
Fig.2.2. Choosing the installation language.
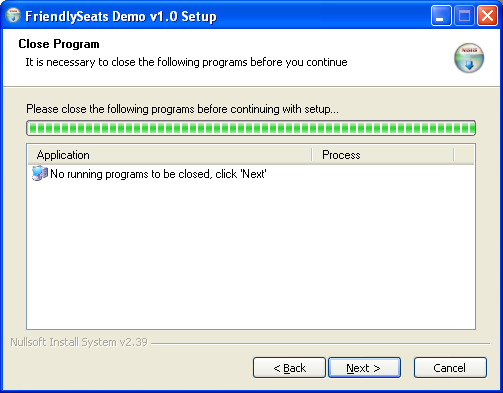
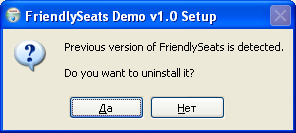
3. At the first step of the installation is proposed to close all open windows and other installers (Fig. 2.3). 4. Close all open programs and installers, and click "Next" to go to the next step. 5. On this step, the installation checks whether the Friendly Seats is running now. If the Friendly Seats is already running you will be asked to close it, and then continue the installation (Fig. 2.4). 6. After clicking "Next" installer will search previously installed versions of the Friendly Seats, and if it will found, you will be prompted (see Fig. 2.5) for its removal prior to installing the new version. You should click the button "Yes".
Note. If the installer was executed on a computer, which works in multiplayer extention mode, you will be prompted to restart your computer after removing the previous version of the Friendly Seats.
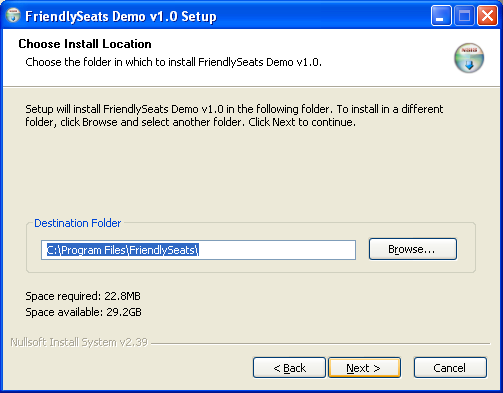
7. On the next step of the installation you will be asked to select the installation folder for the program (Fig. 2.6).
Fig. 2.3. Request for closing of all active programs.
Fig. 2.4. Search in memory for programs that may interfere with the installation process.
Fig. 2.5. Request for the removal of the previous version.
Fig. 2.6. Choosing the installation folder.
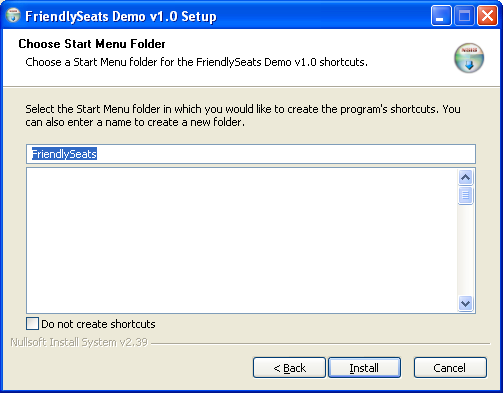
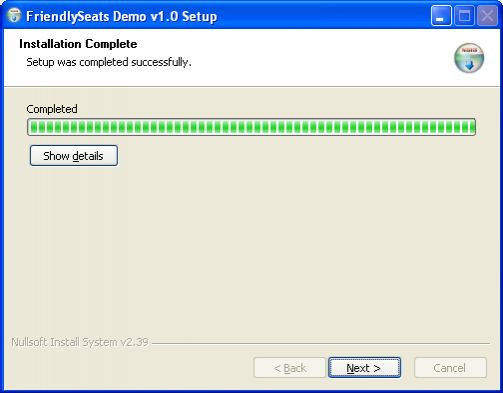
8. It is recommended to install the program in the proposed location (C:\Program Files\Friendly Seats). You can change the installation folder manualy from keyboard or select it on the disk by clicking "Browse". When an installation folder was specified, you can proceed to the next step. To do this, click "Next". 9. On this step, you select the installation folder in the Start menu, for a shortcut to the program (Fig. 2.7). It is recommended to leave the proposed variant («Friendly Seats»). 10. To begin the process of copying files, click "Install". 11. An installation process is displayed on the next step (Fig. 2.8). For a detailed view of the installation process click on "Details".
Fig. 2.7. Selection of a folder in the Start menu for placing shortcuts.
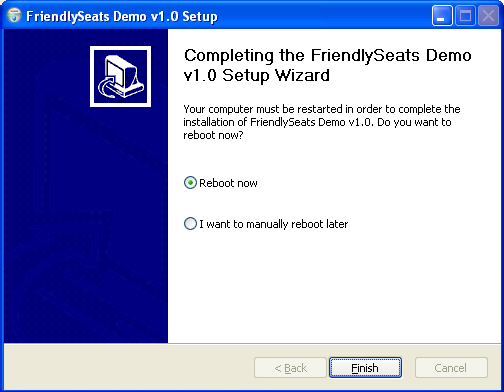
Fig. 2.8. The installation process is completed. 12. After completion of the installation process, click "Next" to go to the final step of installation. 13. At the final step of the installation is proposed to run the newly installed program after exiting the installer (see Fig. 2.9).
Fig. 2.9. The final step of installation.
14. Click "Finish" to exit the installer.
Run the installed program by using the Start menu shortcut through the Start -> All Programs -> Friendly Seats -> Friendly Seats (Fig. 2.10).
Fig. 2.10. Shortcut to the Friendly Seats in the Start menu.
The program can be started via a shortcut on your desktop (Fig. 2.11).
Fig. 2.11. A shortcut on the desktop.
Uninstalling of the program. In order to remove the program from your computer, follow these steps: Run the uninstaller from the Start menu by selecting the shortcut "Start -> All Programs -> Friendly Seats -> Uninstall » (Fig. 2.10), or via an applet Add/Remove Programs in Control Panel (Fig. 2.12).
Fig. 2.12. Uninstallation Friendly Seats via the applet "Add/Remove Programs".
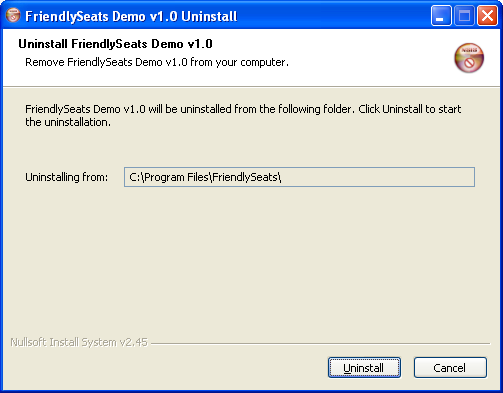
2. After running the uninstall program you will be prompted to confirm deletion of the program from a specified folder (Fig. 2.13).
Fig. 2.13. Information about the program to be removed.
3. Confirm your intention to remove the program by clicking Uninstall. 4. After completion of the removal process you can view the results (Fig. 2.14) by clicking the button "Details" and close the uninstaller by clicking "Close". Now Friendly Seats removed from your computer. 5. It should be noted that uninstaller will remove program files, shortcuts in the Start menu and Desktop, as well as program settings. License file is not removed from the installation folder.
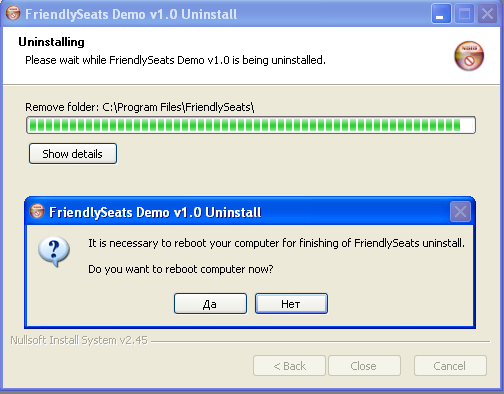 Fig. 2.14. Completion of the removal process.
|


